Random Bits Of Me
EVERYTHING IN GENERAL AND NOTHING IN PARTICULAR
crochet-spinning-making-home decor-fiber art-every day stuff-antiques-sewing-food-pets-family-flea market finds-thrifting-doodling-journaling-books-nature-handmade-creative things-nothing-everything
Sunday, March 16, 2014
Saturday, March 15, 2014
Friday, March 7, 2014
Thursday, March 6, 2014
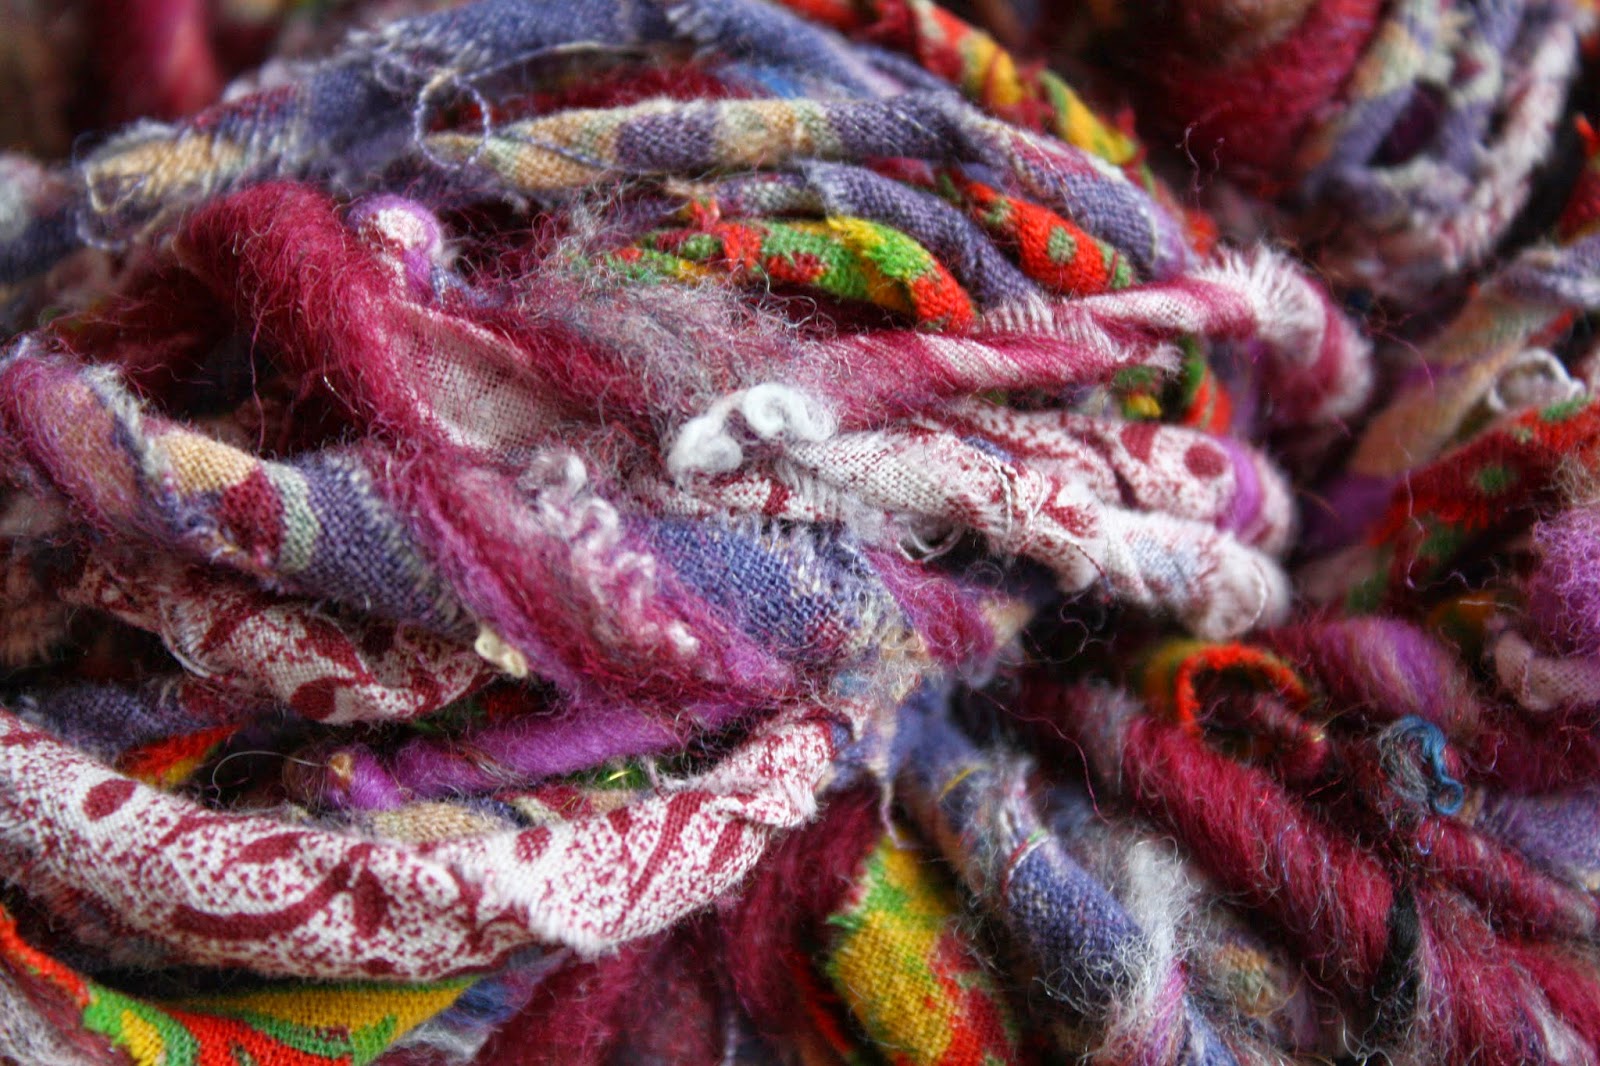
Fiber Pebbles Driftwood
No rhyme or reason for any of this.
Sometimes I just need to create without justification.
Does there always have to be a purpose for what we create?
Sometimes I just need to experiment with texture,
or colors or shapes.
Does there always have to be a purpose for what we create?
Sometimes I just need to experiment with texture,
or colors or shapes.
Sometimes there doesn't need to be a reason.
Creating just because.
It's what I do.
karen
Labels:
beach pebbles,
drift wood,
Fiber Art
Tuesday, March 4, 2014
Textile Bracelet Tutorial
Just a quick how to:
You will need some...
memory wire
wire cutters
round nose pliers
scissors
fabric strips or ribbon (1/2 to 3/4 in. wide and 1 yd. long)
glue
embellishments
Cut a piece of memory wire 2 inches more than the circumference of your wrist.
Using the round nose pliers, curl a loop onto each end of the wire.
Place a dab of glue next to one of the loops and anchor the end of your ribbon.
Wrap wire tightly, overlapping as you go.
When you reach the other loop add another dab of glue and anchor your ribbon at this end too.
Wrap again in the opposite direction.
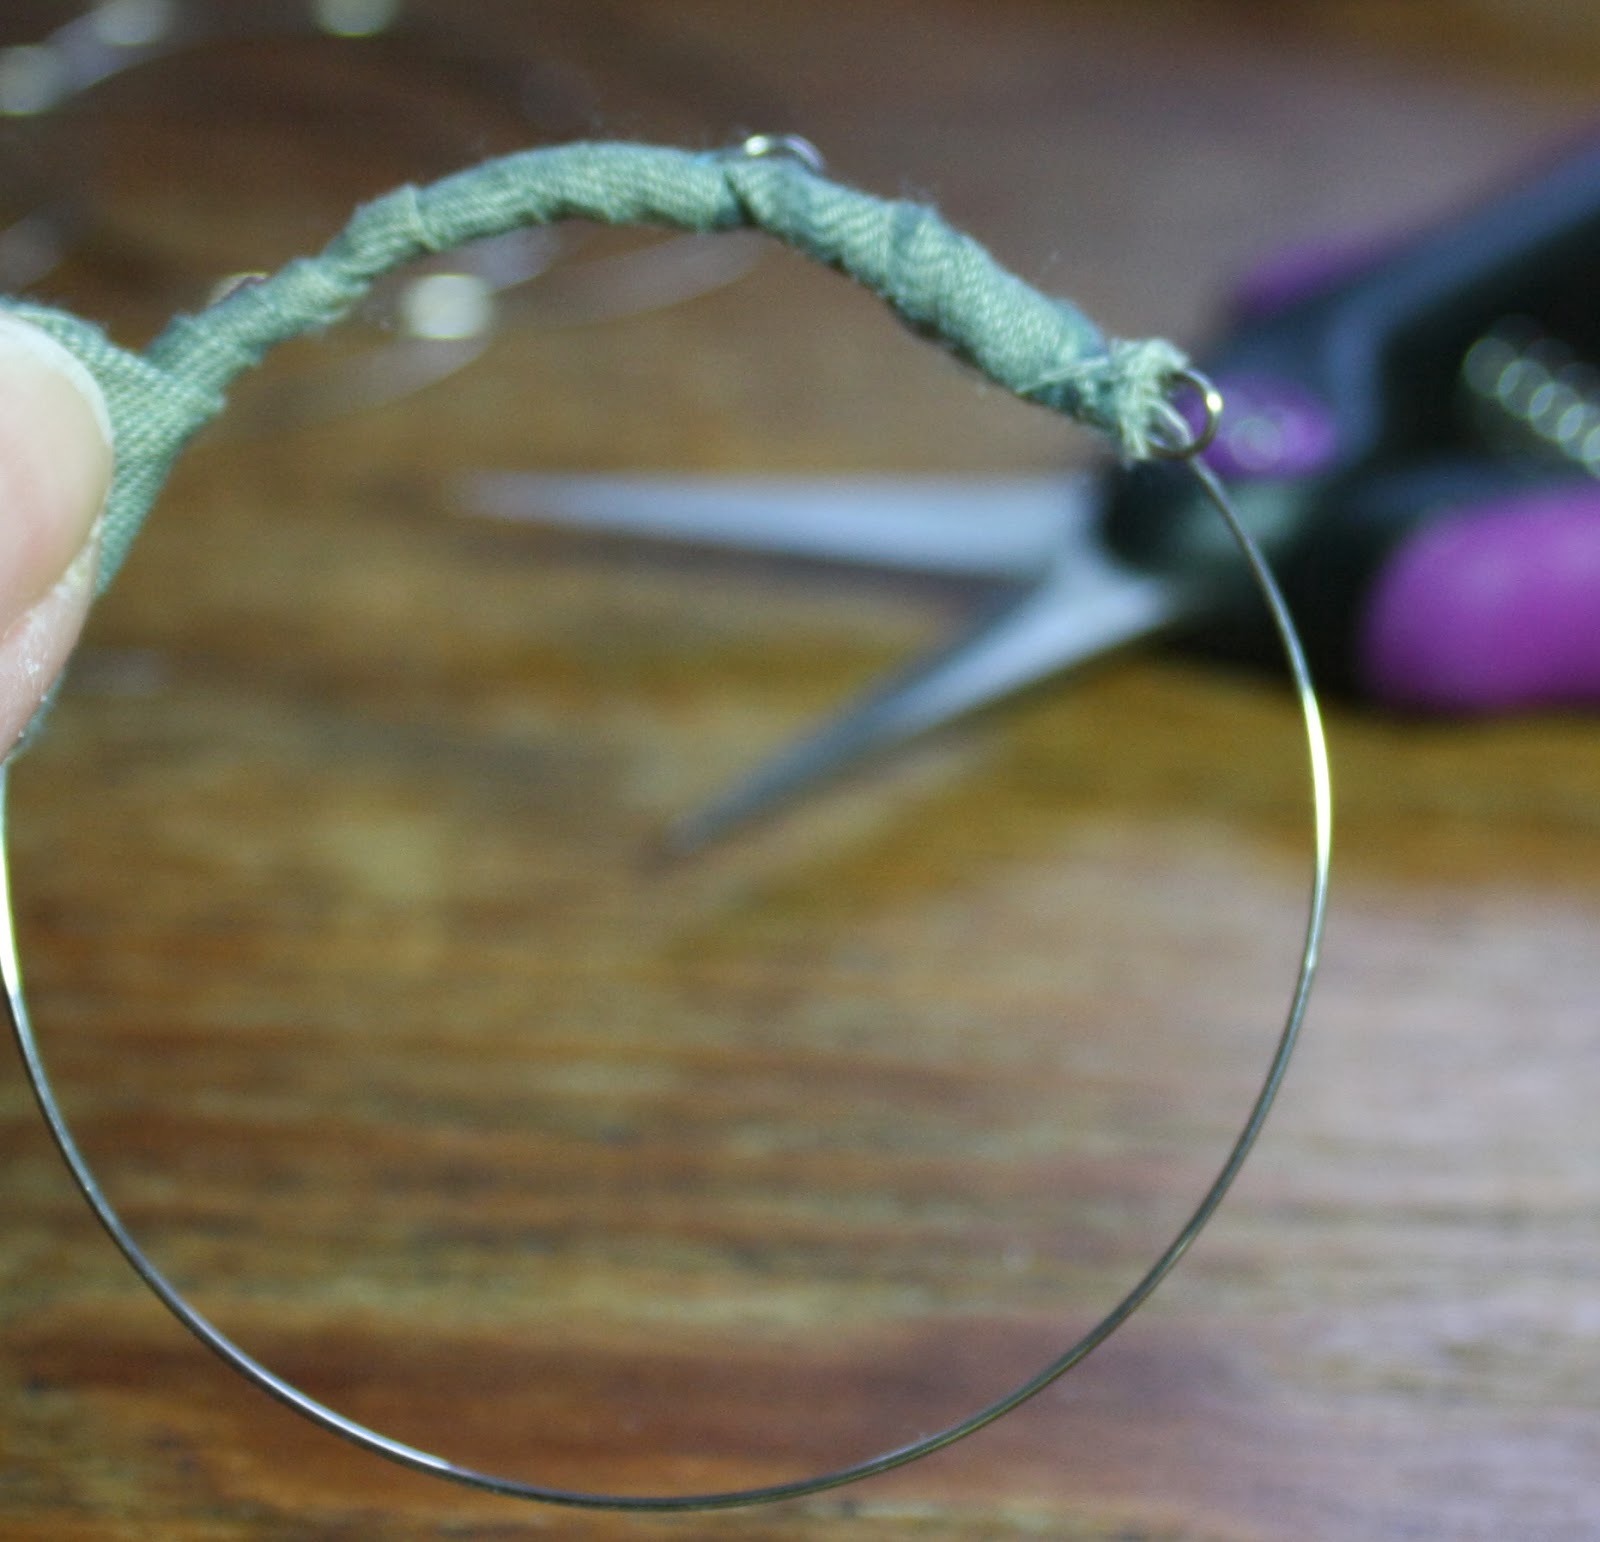
When you reach the end or beginning, depending how you look at it...anchor with one final dab of glue. Trim off any excess ribbon. They should look like this.
You can either leave them like this
or add whatever you like. I embellished mine with beads and wire.
I apply a jump ring to each of the end loops to keep the charms and beads from sliding off.
Here are some made with torn strips of cotton textiles.
You can see I over wrapped some with flax, hemp, ribbon and wire.
Here you can see the jump rings and some beaded wire wrapping.
Another set with just bright copper wire wrapping and some simple silver beads.
If anyone decides to make some of these I would love to see them.
I think the possibilities are endless.
karen
Labels:
art,
artisan jewelry,
beads,
blue,
bracelets,
copper,
craft,
free jewelry tutorial,
free tutorial,
glass,
green,
handmade,
jewelry,
purple,
ribbon,
silver,
stone,
textile,
tutorial,
wire wrapped
Monday, March 3, 2014
Some New Old Things
Labels:
baby dress,
button,
craft supplies,
earrings,
green glass beads,
hankies,
lace,
rhinestones,
vintage
Sunday, March 2, 2014
Crocheted Owl Instructions
The tiny wire cage...
that sits upon my work table...
is no longer empty.
I crocheted this little tiny owl to keep me company while I'm working at my table.
If you'd like to make one for yourself here's how:
chain 2
6 sc in 2nd ch from hook
2 sc in ea st around (12sc)
1 sc in next st ,2 sc in next st, cont around (18 st)
1 sc in next 2 st and 2 sc in next st, cont around (24 st)
sc in ea st around for 14 rows
stuff
crochet opening shut straight across
crochet across top decreasing 1 at ea end
turn and cont dec 1 at ea end until there is 1 st left
this forms the beak
fold over and st into place
glue on eyes
tie a few yarn scraps to each side at top for horns
What a HOOT!
karen
Labels:
crocheted owl
Subscribe to:
Posts (Atom)