Just a quick how to:
You will need some...
memory wire
wire cutters
round nose pliers
scissors
fabric strips or ribbon (1/2 to 3/4 in. wide and 1 yd. long)
glue
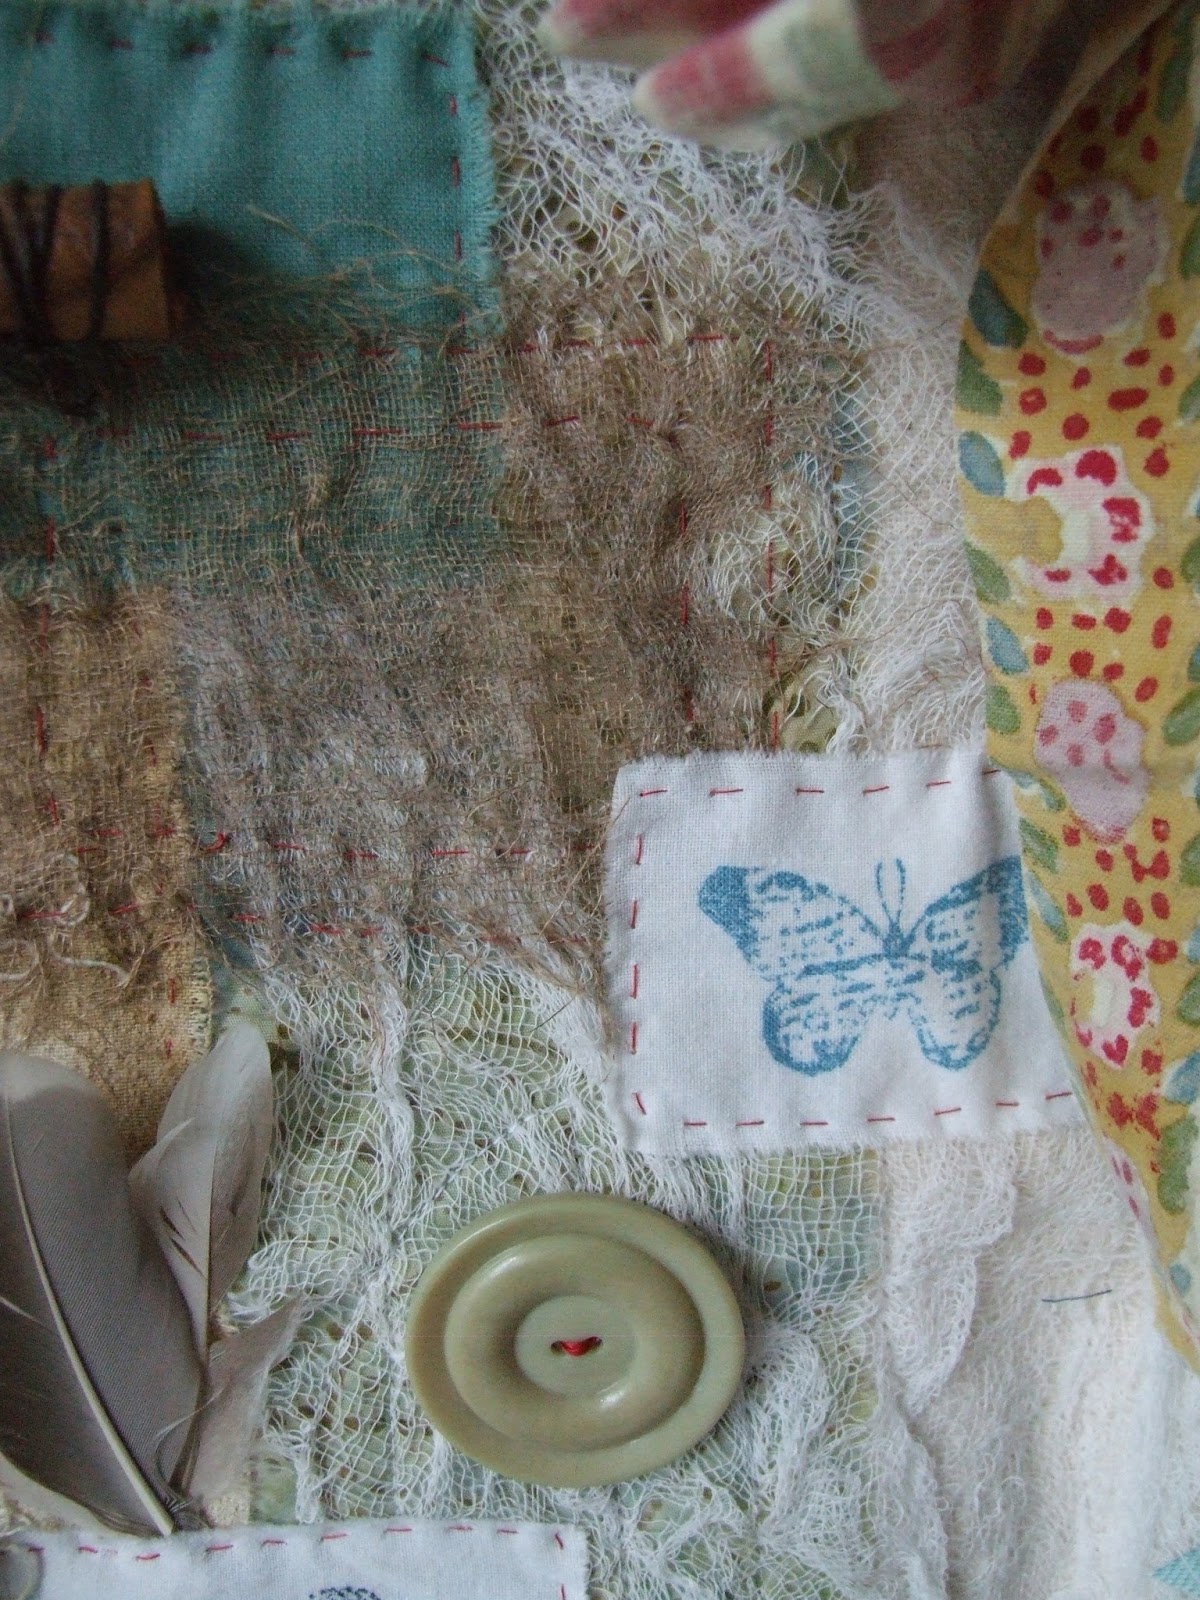
embellishments
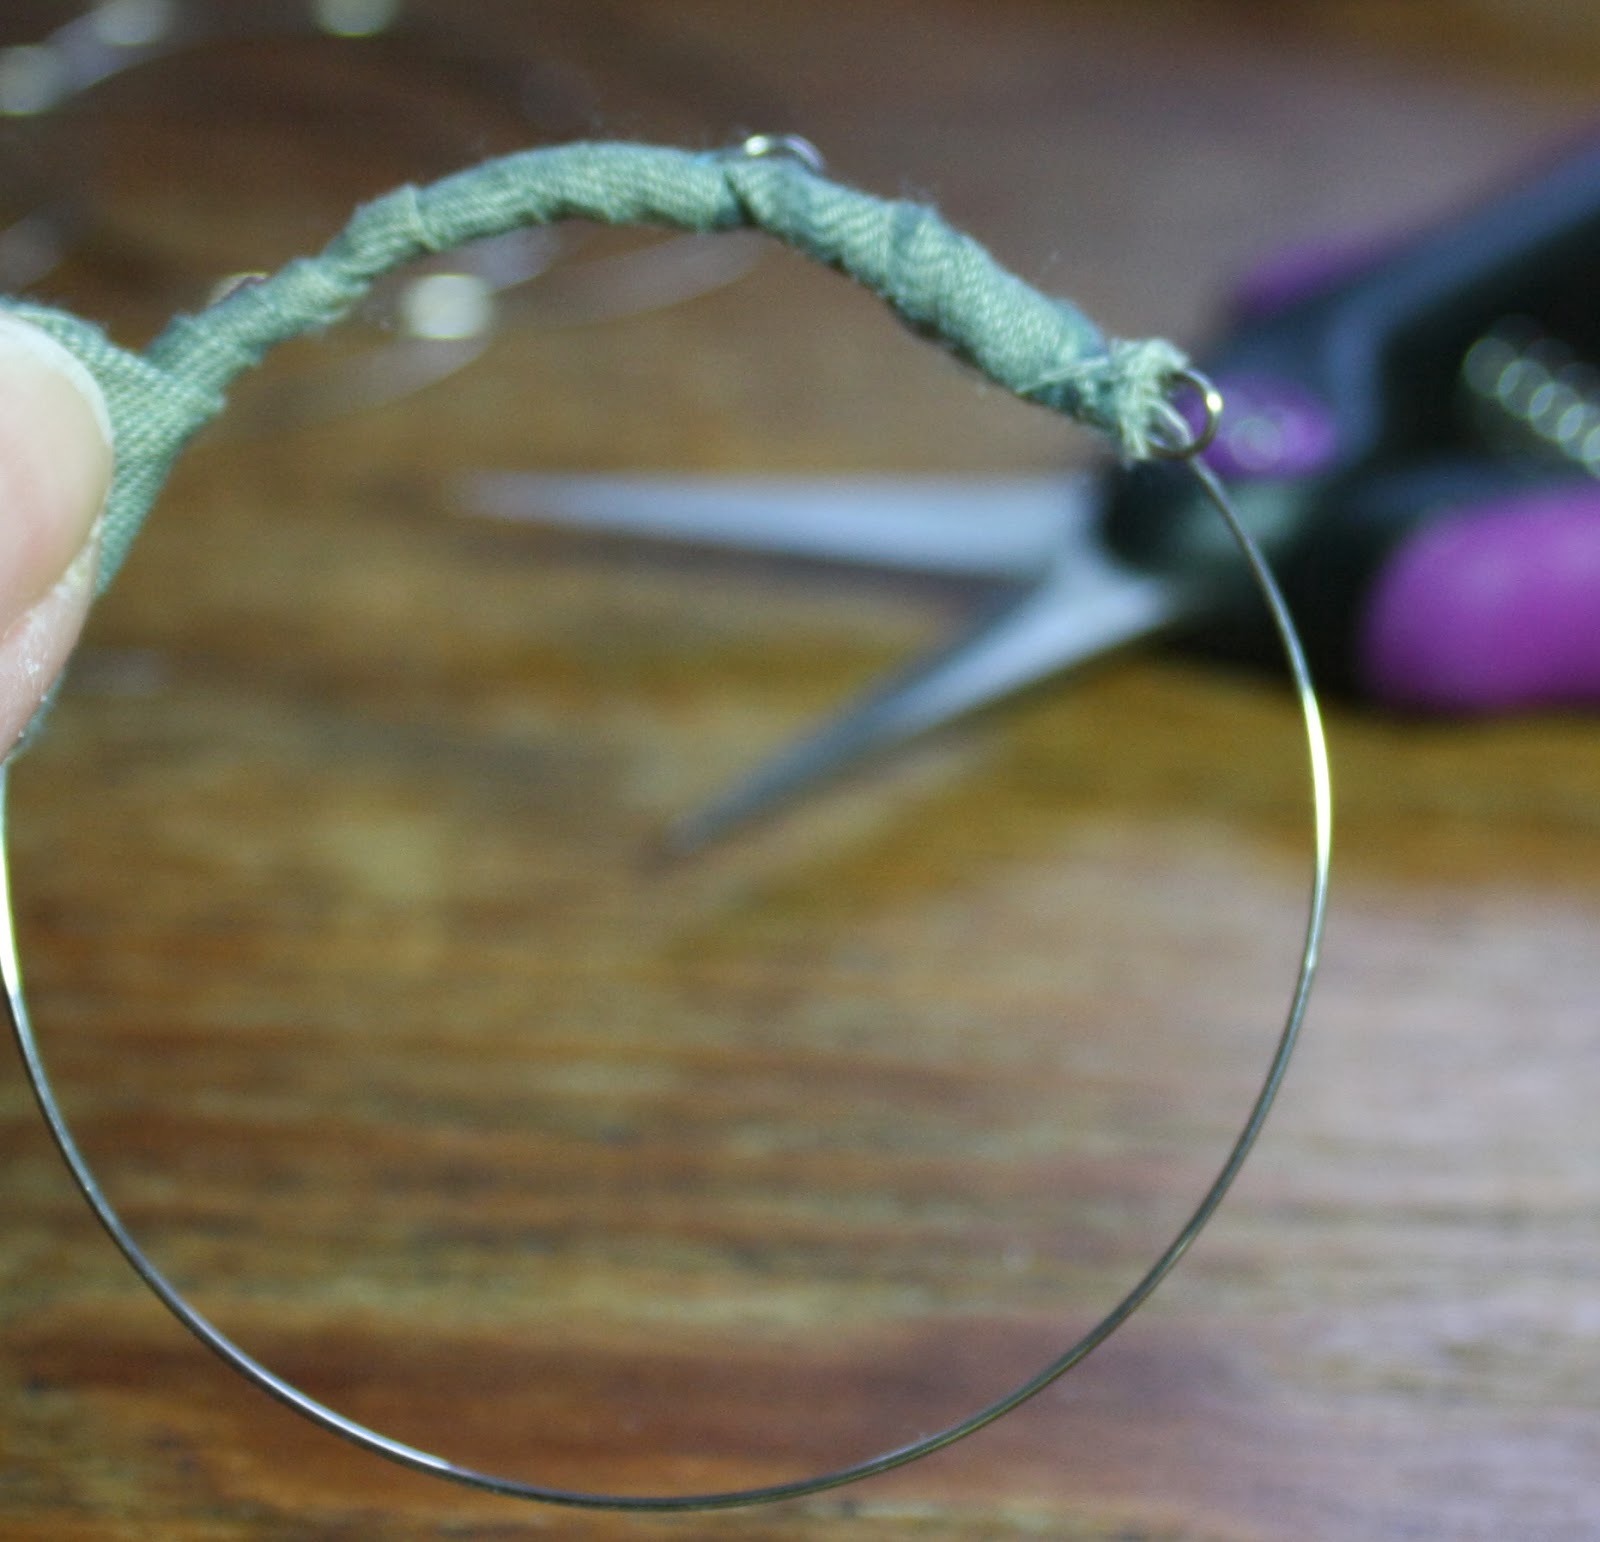
Cut a piece of memory wire 2 inches more than the circumference of your wrist.
Using the round nose pliers, curl a loop onto each end of the wire.
Place a dab of glue next to one of the loops and anchor the end of your ribbon.
Wrap wire tightly, overlapping as you go.
When you reach the other loop add another dab of glue and anchor your ribbon at this end too.
Wrap again in the opposite direction.
When you reach the end or beginning, depending how you look at it...anchor with one final dab of glue. Trim off any excess ribbon. They should look like this.
You can either leave them like this
or add whatever you like. I embellished mine with beads and wire.
I apply a jump ring to each of the end loops to keep the charms and beads from sliding off.
Here are some made with torn strips of cotton textiles.
You can see I over wrapped some with flax, hemp, ribbon and wire.
Here you can see the jump rings and some beaded wire wrapping.
Another set with just bright copper wire wrapping and some simple silver beads.
If anyone decides to make some of these I would love to see them.
I think the possibilities are endless.
karen