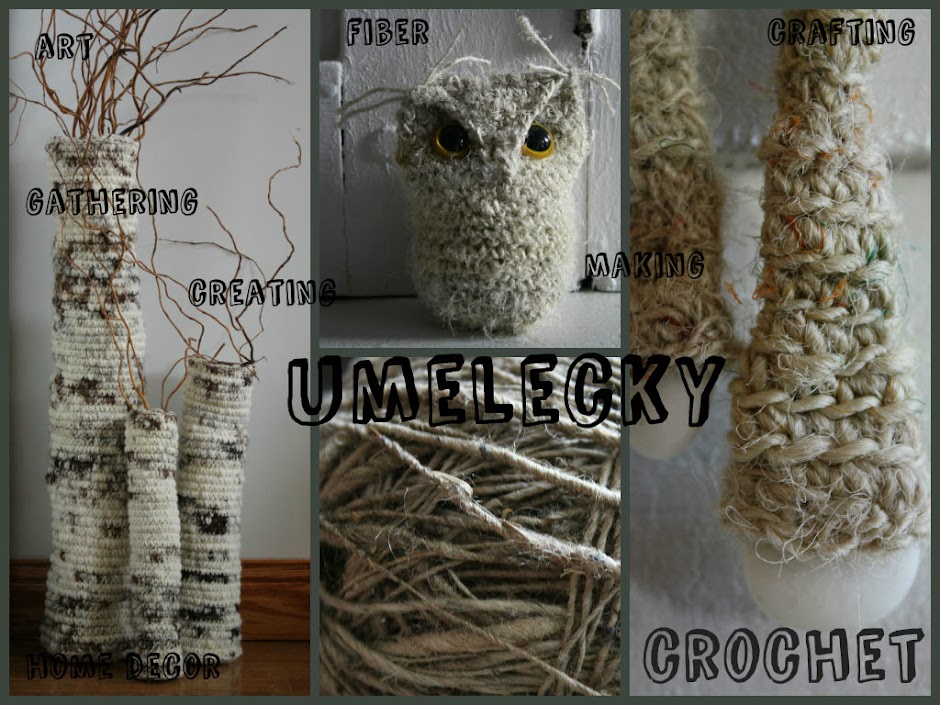
Just a quick how to:

You will need some...
memory wire
wire cutters
round nose pliers
scissors
fabric strips or ribbon (1/2 to 3/4 in. wide and 1 yd. long)
glue
embellishments

Cut a piece of memory wire 2 inches more than the circumference of your wrist.
Using the round nose pliers, curl a loop onto each end of the wire.

Place a dab of glue next to one of the loops and anchor the end of your ribbon.
Wrap wire tightly, overlapping as you go.
When you reach the other loop add another dab of glue and anchor your ribbon at this end too.
Wrap again in the opposite direction.
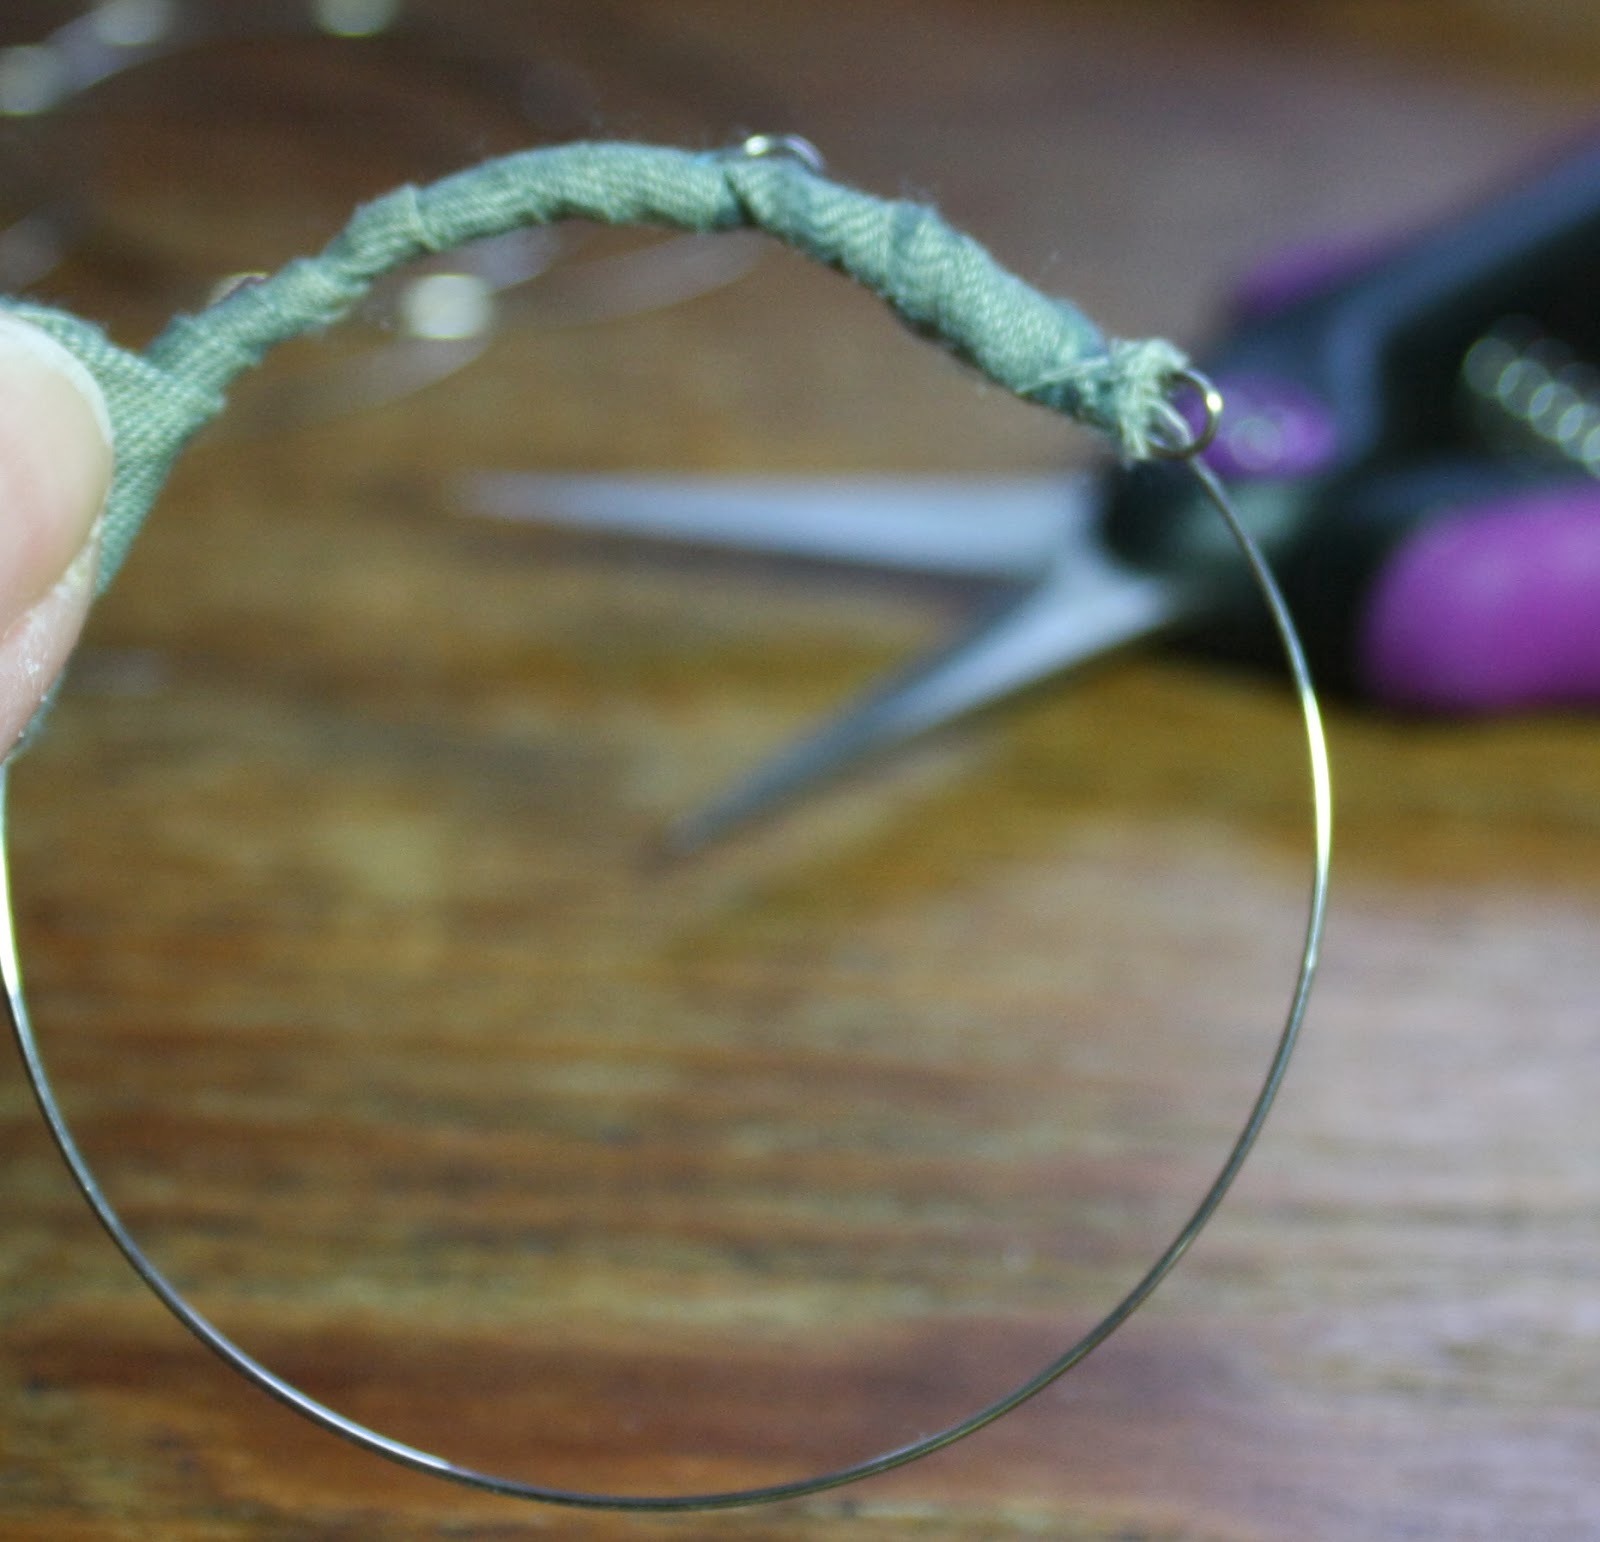
When you reach the end or beginning, depending how you look at it...anchor with one final dab of glue. Trim off any excess ribbon. They should look like this.

You can either leave them like this

or add whatever you like. I embellished mine with beads and wire.

I apply a jump ring to each of the end loops to keep the charms and beads from sliding off.

Here are some made with torn strips of cotton textiles.
You can see I over wrapped some with flax, hemp, ribbon and wire.

Here you can see the jump rings and some beaded wire wrapping.


Another set with just bright copper wire wrapping and some simple silver beads.

If anyone decides to make some of these I would love to see them.
I think the possibilities are endless.
karen
I am in awe. You always make the sublime so simple. I can't wait to try this. And thank you so much for such a concise and clear tutorial. Thank you, thank you, thank you.
ReplyDeleteHi Cheryl! You're so welcome. Can't wait to see yours!
DeleteThat is beautiful ..thank you for sharing!
ReplyDeleteBlessings,
Tamara
Hi Tamara! So glad you stopped by!
DeleteThese are gorgeous! I love the idea of the colorful fabrics combined with beads; every so beautiful! Thank you for sharing how you made these! xo
ReplyDeleteHi Marilyn! Thank you so much!
DeleteLooks very beautiful Karen,thank u for diy,I must make it !!! Nice day!
ReplyDeleteThank you! Can't wait to see what you come up with!
DeleteWow, so easy, I might even be able to pull this off, I will have to get some memory wire. Great instructions and photos my friend.
ReplyDeleteHi Marcie! I was thinking of trying these with some torn vintage lace and pearls and crystals.
Deleteciao! sono bellissimi questi bracciali!
ReplyDeleteI LOVE these! So me. Great pics & tutorial.
ReplyDeleteCan you tell me where the ribbon balls in the wooden bowls came from?
- Jeanne
Long Island, NY
Gorgeous, as usual. ( ;
ReplyDeleteIt looks great!!I have to try it....
ReplyDeleteThank you so much.
ReplyDeleteBeautiful. I will have to try this one day soon!
ReplyDeleteWell,....that's just genius! Love what you've done! Can't wait to make some different colors! Thanks you so very much! :-)
ReplyDeleteVal
I just this photo of your bracelets on Pinterest. I instantly feel in love with this look and went on your website to see how it's done. I HAVE TO MAKE THESE. I know will add textiles to my hunt and find shopping list. Thank you for sharing,.
ReplyDeletebeautiful and fun pieces! what kind of glue worked for you? thank you for sharing.
ReplyDeleteLove Love Love these beautiful organic bracelets!! Faye
ReplyDeleteLove the tutorial! I was wondering if you could silk wrap memory wire! Thank you so much for sharing. Off to give it a try!
ReplyDeleteThanks Kathy! Glad you stopped by!
ReplyDeleteThanks everyone for your kind comments. I'm glad my little how to was helpful.
ReplyDeleteHi! I love these as well. Unfortunately I seem to be the only one confused on how the ends are to connect? Do they not connect at all and the fabric keeps them together, and then we have two slightly exposed loops?
ReplyDeletebeautiful! I have to make these!
ReplyDeleteI love these and want to try to make some.
ReplyDeleteI as well am curious as to what glue you chose to use on this piece, Im loving all textiles at the moment, and already have the supplies out on my craft table ready to go, but know that hot glue will dry fastest, although leave a lil hump. Thank You so much for the clear and right to the point tut. Your glue preference for this would be a bonus ;)
ReplyDeleteHi crfty. I used just the tiniest dab of hot glue, but I suppose you could use tacky glue as well.
DeleteWhat gauge memory wire did you use in this example?
ReplyDeleteMuchas gracias!!! Están preciosas!!! Hoy mismo hago para mí!!! Felicitaciones eres muy creativa:
ReplyDeleteI was inspired to make my own version after I saw your post. I used glue around the entire memory wire and the wire wraps around the wrist 3 times. Not sure how to send the photo!
ReplyDeleteKaren
This comment has been removed by the author.
ReplyDeleteLove these and I am definitely going to make a few.
ReplyDeleteI just finished making 8 br over a three day period. I use plastic or base metal bangles from the dollar store... I have been putting vintage lace ribbon over the base material and it looks so nice...the base color shows through..I wire wrap and bead some..some i do 2 colors, some i wire wrap beads and charms.. I am having so much fun.. I sell my jewelry in a tourist town in the summer. I hope people love them as much as I do.. Janet from NJ
ReplyDeletePlease what is size circumference of the wire ?
ReplyDeletethat is a gorgeous bracelet combination!!!I can just feel the nubby fabric and love the eclectic bead combimation!!!!!!I cant wait to try it!!,from Jeanene yakima wa.
ReplyDelete